
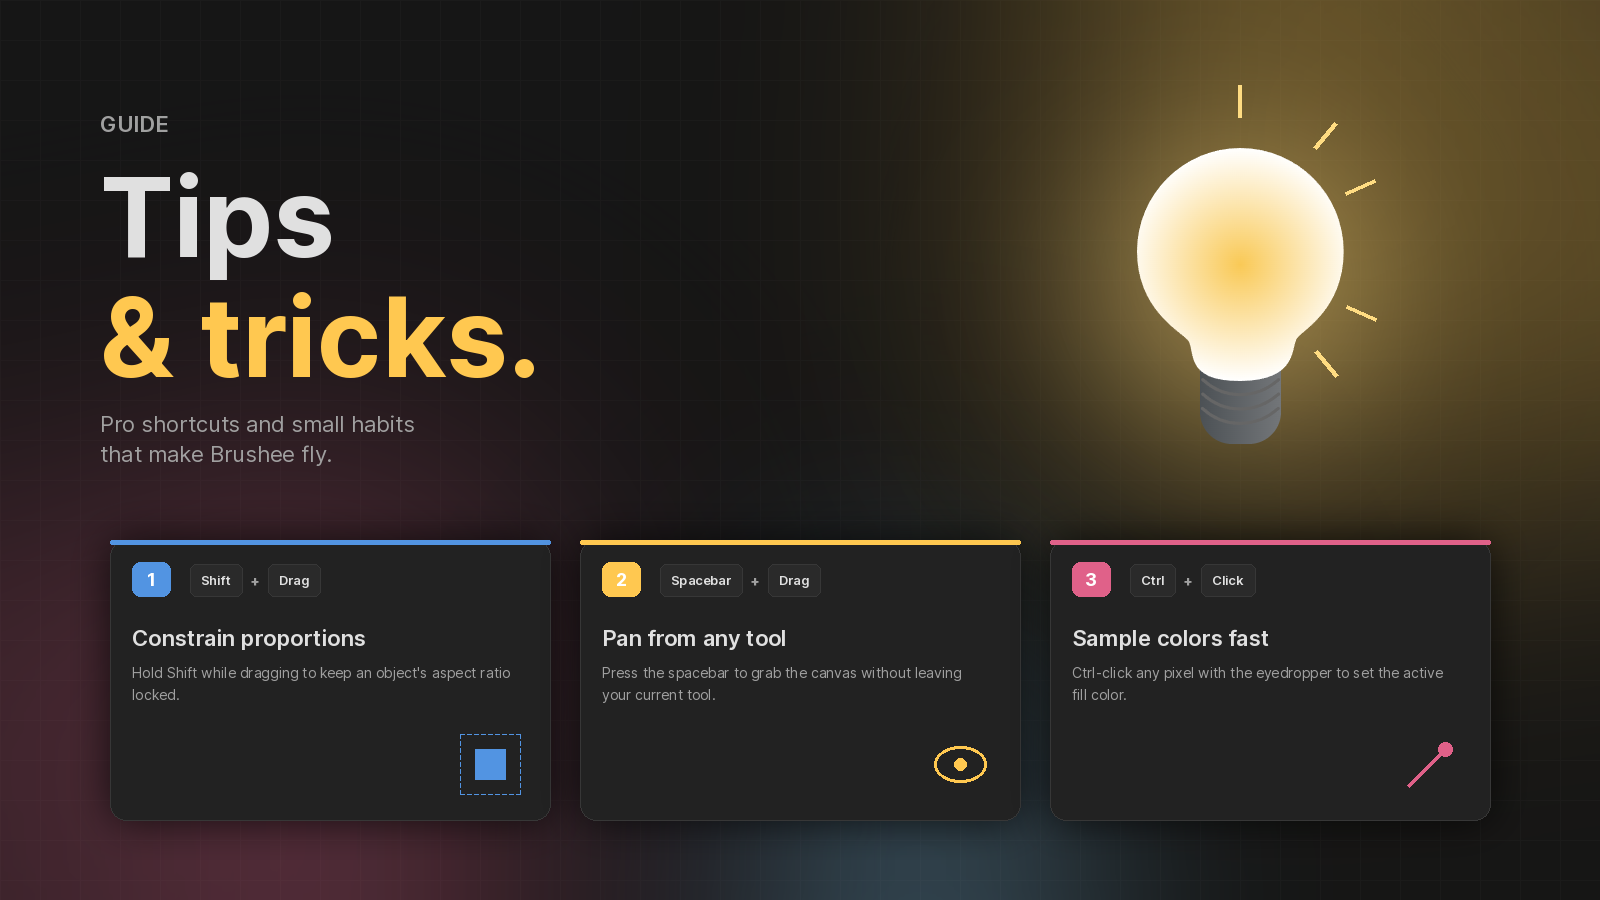
A collection of workflows that live just beneath the surface of Brushee. None of them are required, but each one shaves friction off a task you might do a hundred times a week.
Pointer superpowers
Alt-drag to duplicate
Hold Alt while dragging a selection to drop a copy in place and drag the new copies, leaving the originals behind. Keep Alt-dragging to rubber-stamp more.
Alt-drag a handle to scale from the centre
Hold Alt while dragging a resize handle to expand evenly around the selection's centre. Add Shift on a corner to keep aspect ratio.
Double-click to step through overlapping objects
When objects stack, double-click a selected object to pick the next shape below it at the cursor. Subsequent double-clicks keep stepping down until you reach the bottom.
Ctrl while drawing keeps the shape tool active
By default Brushee flips back to the Pointer after you place a shape (so you can immediately reposition). Hold Ctrl while drawing to stay in the shape tool for rapid-fire creation.
Paste like a pro
Ctrl+V does more than copy objects:
https://example.com/image.png→ loaded onto the active layer.#ff6432(orrgb(…)/hsl(…)) → applied as fill to every selected object.<svg>…</svg>→ imported as editable paths.- Plain text with a text object selected → replaces the text content.
Copy a color from any design tool, click a shape, Ctrl+V — done.
Colour picker
Switch picker modes with the tabs
The picker has four tabs: RGB (saturation/brightness square + hue strip), HSL and HSV (hue ring + inner square), and HEX (a hexagonal honeycomb of swatches with a neutrals row). Switch for the task at hand — HSL is great for matching a target lightness; HSV for picking saturated values; HEX for grabbing common colors quickly.
Eyedropper anywhere on screen
Click the eyedropper button inside the picker to pull a color from any pixel in your browser. In Chromium browsers this uses the native OS-level EyeDropper, which can sample outside the browser window too.
Palette slots remember your picks
Shift-click (or right-click) a palette swatch in the paint panel to overwrite it with the current fill color. Double-click to open the picker for that slot specifically.
Paint & retouch
Tap 0 to toggle erase
While any paint style is active, 0 flips between paint and erase without losing the brush settings you've dialed in. The brush-extent circle turns red while erasing so the mode is obvious.
Shift locks a straight line
Hold Shift while painting to lock the stroke to the initial motion direction. Release Shift and the stroke follows the cursor again. Useful for outlines, tick marks, or symmetric flourishes.
Smudge picks up pigment at mousedown
R → Smudge samples the pixels under the brush when you click, then drags that sample along the stroke. Lift the mouse, click somewhere else, and the buffer resamples — so you can drag a color from region A to region B by starting in A.
Sharpen converges, doesn't compound
R → Sharpen reads from a snapshot of the bitmap taken at mousedown, not the live canvas. Overlapping dabs converge on the sharpened original instead of amplifying noise, so you can feather the strength with repeated light strokes.
Median for speckle removal
R → Median replaces each pixel with the median of its neighbors — it cleans up speckled noise without the softness a blur introduces. Great on scanned / photographed source material.
Layout & alignment
Negative distribute values flip the anchor
Type a negative number into H-Space or V-Space and the rightmost (or bottom-most) object becomes the anchor — the rest flow toward it with the absolute gap. Saves a couple of clicks compared to flipping the selection manually.
Arrange in Grid handles overlap
Cols + negative H-Gap / V-Gap tiles objects with overlap — useful for stamp-style layouts, sticker sheets, or overlapping badges.
Align to Canvas
The Align to dropdown (in the multi-selection Properties panel) doesn't have to target the selection. Pick Canvas and the buttons align everything relative to the document bounds — perfect for centering art on the page.
Nine-slice & smart shapes
9-slice a rounded-rect background
Enable 9-slice (Q → 9-Slice) on a rounded-rect button background so corner radii stay crisp at any button width. The corners render at their native pixel size; only the middle stretches.
Smart shapes → Path when you outgrow them
Right-click any smart shape (star, arrow, polygon, heart, speech bubble) and pick Convert to Path (or Ctrl+Shift+P) when you want to edit individual nodes. Brushee auto-converts when you enter Skew / Stretch / Trapezoid modes, too.
Document
Clip to Document to see the export
Turn on Clip to Document (in the doc properties panel or View menu) to hide everything outside the page boundary. What you see is exactly what Export As will produce — no off-canvas layout to mentally crop out.
Trim Canvas shrinks to content
With nothing selected, Trim Canvas in the Properties panel (or Modify → Trim Canvas) resizes the document to the exact bounds of its visible content. Handy before an export that shouldn't include empty margins.
Export
Quick export with Ctrl+Shift+R
Ctrl+Shift+R writes a PNG of the whole document with your last export settings — no dialog. Great for iterating when you already have a file name and scale dialed in.
Batch convert for transformations
Need to resize, crop, or recolor a folder of images? File → Batch Convert… accepts a queue, runs an ordered pipeline of operations on every file, and writes the results to a ZIP or a folder.