

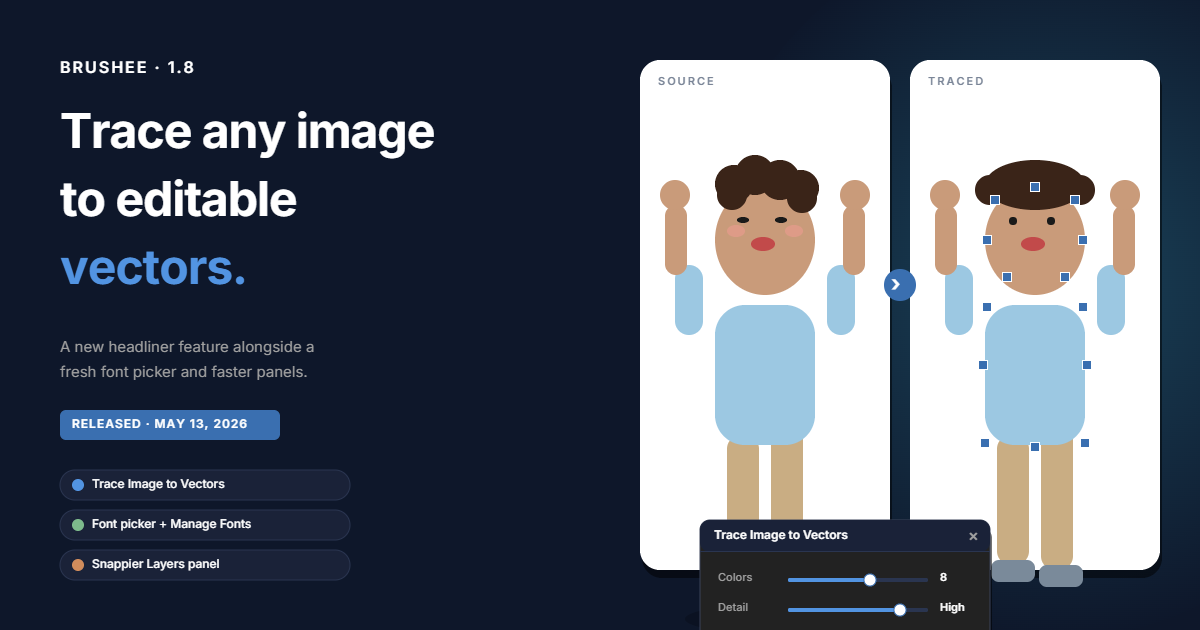
Three days after 1.7, a fourth-quarter feature drop. Brushee 1.8 is built around Trace Image to Vectors — drop a photo, sketch, or screenshot on the canvas and get an editable vector group back in a second or two. Two smaller features (font picker, font catalog) and two real fixes (compound-path renderer, Layers panel performance) round out the release.
Trace Image to Vectors
Modify ▸ Trace Image to Vectors… (or right-click an image / bitmap layer) opens the trace dialog. Everything runs in the browser — no upload, no server pass.
The pipeline:
- K-means color quantize the source into N clusters (2–24, default 8), with best-of-3 restarts so similar hues don't collapse into one muddy cluster.
- Single-pass anti-alias cleanup flips isolated AA pixels into their dominant neighbor. Without it, cartoon sources produce a halo ring around every shape that looks like a stroke the artist didn't draw.
- Connected-component labeling splits each color into its individual blobs. Three blue shirts on three different characters produce three separate path objects, not one compound path that lights up handles all over the image when you Subselect it.
- Pixel-edge boundary trace of every component (outer outlines + any holes), with a right-turn rule that handles diagonal-pixel corners consistently.
- Douglas–Peucker simplification with a Detail slider — Min collapses to a handful of nodes per shape; Max hugs every staircase. Smooth turns pick up auto bezier handles; sharp turns stay as corners.
- Per-region color sampling instead of cluster centroids. Each path's fill is the mean of its own source pixels, so two reds that k-means averaged into one cluster still come out as the two reds the user drew.
The dialog has a live preview that re-traces (downsampled to 256px on the long side for speed) every time you change an option, with running counts of paths and nodes. Output lands as a group placed beside the source by default (or replacing it), so you keep the original around to compare.
The full feature is in the new Trace Image to Vectors help topic.
Renderer fix — compound paths
Brushee was drawing a stray closing-bezier on any compound path whose
endpoints carried handles. The closing segment used pathData[0] as the
"first point" instead of the start of the current subpath — fine for a
single-subpath path, but for multi-subpath paths it swept a thin curve
across the whole image, connecting the last subpath's end back to the
very first subpath's start.
Before / after on a synthetic compound path with three disjoint blue squares and a bezier handle on the closing node:
| Stray fill pixels in the gaps | |
|---|---|
| Buggy renderer | 1,426 / 3,856 |
| Fixed renderer | 0 / 0 |
This wasn't only a trace issue — any compound path with handles drew
the artifact, so SVG imports that produced multi-subpath shapes with
smooth nodes had the same defect. The fix is one tracked-index change
in RenderEngine._tracePath.
Layers panel speedup
scene:objectAdded and scene:objectRemoved used to call
_refreshLayers() synchronously, and each refresh re-rendered every
thumbnail through the full render path. Operations that add or remove
many objects in a tight loop — ungroup a trace result, paste a batch of
clipboard objects, import a layered PSD — produced O(N²) thumbnail
work that froze the panel for noticeable seconds.
Two changes paired:
- Both add/remove events now schedule through
_scheduleRefresh()(50 ms debounce), so a burst of N adds collapses into one rebuild. _populateThumbnailspaints 8 thumbs per frame viarequestAnimationFrame. Short lists still render synchronously (the rAF round-trip is more expensive than just drawing 3 thumbs); long lists spread across frames so the UI stays responsive.
Measured on a 40-path ungroup:
| Synchronous blocking time | |
|---|---|
| Before | 470.7 ms |
| After | 100.1 ms |
That's a 4.7× speedup on the work you actually feel; the rest of the thumbnail rendering happens off-thread after the operation returns.
Font picker + Manage Fonts
The font family field now opens a custom dropdown instead of the
browser's native <select>. Each row shows the family name on the left
and a live preview of the selected text object rendered in that face
on the right — so you see how the actual words you typed will look
before committing, not a generic pangram.
Only fonts in your collection appear in the picker. A new Window ▸ Manage Fonts… dialog browses a curated Google Fonts catalog filterable by category (Sans Serif, Serif, Display, Handwriting, Monospace) and free-text search. Add a family and it's pulled in on demand and persisted across sessions; remove a family and any existing text using it keeps rendering as long as the page references it.
The Weight dropdown in the Properties panel now lists exactly the weights the chosen family ships in — 100 Thin through 900 Black, only the slots that actually exist. The italic toggle is only available on families that include an italic style.
Full breakdown in the new Text & Fonts help topic.
Menu renames
Two Modify-menu entries got renamed for clarity (the old names talked about "bitmap" specifically; the new ones cover both image and bitmap objects):
- Trace Bitmap to Vectors → Trace Image to Vectors
- Flatten to Bitmap → Flatten/Collapse to Image
Both new names appear in the top menu and the right-click context menu.
The right-click context menu also now displays the keyboard shortcuts
for Bring to Front (Ctrl+Shift+Up), Bring Forward (Ctrl+Up), Send
Backward (Ctrl+Down), and Send to Back (Ctrl+Shift+Down) — they were
in the top menu but not surfaced on right-click.
Help
- New Trace Image to Vectors topic under Help ▸ I/O.
- New Text & Fonts topic under Help ▸ Drawing.
- Filters & Effects topic's Flatten section retitled to match the new menu label and updated to mention both the menu and the right-click path.