

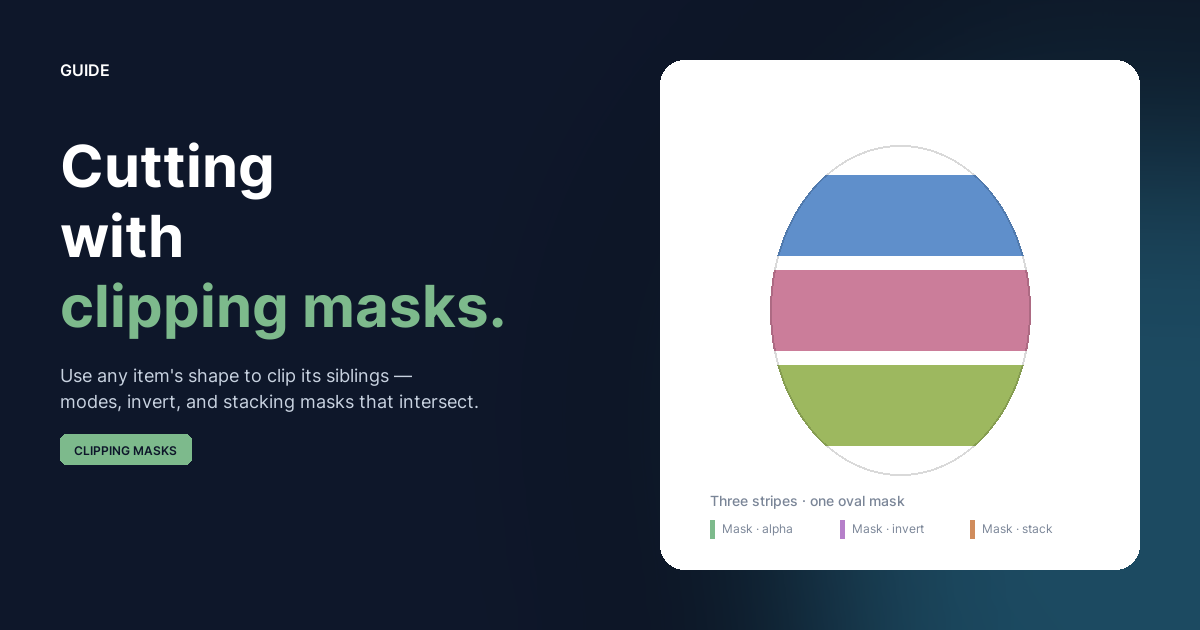
A clipping mask turns any object or group into a stencil for the items underneath it. The mask itself doesn't render — its alpha (or luminance) becomes the shape that everything below shows through. It's the layer-stack version of "I want these stripes to fit inside a circle, but I still want to edit the stripes and the circle separately later."
Clipping masks are non-destructive (toggle the visibility off and the clip lifts), structural (they affect siblings, so the layer panel tells the whole story), and stackable (multiple masks intersect to give you boolean-style cutouts).
Convert any item into a mask
Right-click an object or group in the Layers panel and pick Convert to Clipping Mask. The item disappears from the rendered image and starts cutting out the siblings below it. Right-click again for the mode / invert / undo controls — or pick Remove Clipping Mask to flip it back to a normal item.
A clipping mask only ever affects:
- Siblings in the same parent (layer or group).
- Siblings that sit below it in the panel (lower in z-order). Items above the mask in the same parent stay untouched.
- Siblings on the same side of any layer boundary. Masks don't reach across layer borders, even if both layers are nested inside the same parent group.
A child layer that's a sibling of the mask is clipped as a single unit: its own internal contents render normally first, then the layer's combined output is clipped on the way out.
Three clipping modes
With a clipping mask selected, the right-click menu exposes a Clipping Mode trio:
Alpha (default)
The mask's alpha channel passes straight through. Soft edges, gradient fills, and feathered brush strokes carry their softness into whatever's clipped. This is what you want most of the time — it's the closest analogue to "use the shape's outline."
Greyscale
The mask's luminance becomes the clip strength. White areas reveal the underlying art at full strength, black areas hide it, mid-greys produce partial visibility. Useful for vignettes, soft frames, and "depth-of-field" fade-outs from a black-and-white painting.
Pixel
Binary alpha. Any non-transparent pixel of the mask shows the underlying art at 100 %; everything else is hidden. Edges become hard regardless of the mask's anti-aliasing — useful when you want a crisp cutout from a soft brush stroke.
You can switch modes any time. The mask geometry doesn't change; just how its pixels become the clip.
Invert
The Invert Mask toggle flips the clip in place. What was hidden becomes visible, and what was visible becomes hidden. The visible inverse extends to fill the entire document — so an inverted mask reads as "everything except this hole."
Outside the document bounds, the inverse stays clipped to nothing, so you don't get an unbounded reveal that swallows neighbouring layers.
Stacking masks intersect
Stack two or three masks in the same parent and an item below all of them is visible only where every mask has coverage. The intersection is computed live — no need to bake anything.
Each mask gets its own colour from a muted-but-readable palette and paints a thin stripe along the left edge of every row it touches. The stripes are sorted so each mask occupies its own column across every row, regardless of how many other masks are between them. Orange always stays in orange's column, green always stays in green's. That makes it easy to read the layer panel and see, at a glance, which mask is doing what.
Mask rows are also italicised and use a mask icon in place of the usual shape icon — so you can tell, just by scanning, which rows are doing the clipping and which are being clipped.
A worked example: photo through a window
Say you want a photo to look like it's peeking through a star-shaped porthole, with the rest of the photo cropped away cleanly.
- Add the photo. Drag the image onto the canvas; Brushee adds it
as an
imageobject. - Draw a star above it. Press U for the Star tool and draw a star sitting roughly where you want the porthole to be. Don't worry about its colour — it's about to become invisible.
- Convert the star. Right-click the star in the Layers panel and pick Convert to Clipping Mask. The star vanishes from the canvas; the photo is now visible only inside the star outline.
- Refine. With the clipping mask still selected, drag, scale, or rotate it. The photo updates in real time as the porthole moves — nothing is baked. If you want the opposite of a porthole (photo everywhere except inside the star), right-click → Invert Mask.
The photo is still a regular image object; the star is still a
regular star smart shape. You can tweak the photo's filters, swap it
out for a different photo, or change the star's point count whenever
you want.
Groups as masks
A group can also be a clipping mask. Convert a group and its rendered output (the union of its children, with any internal effects baked in) becomes the clip shape. That's how you build a multi-piece mask — a logo cutout, a ragged-edge brush stroke, a shadow falling out of a window with multiple panes — without flattening it.
Groups-as-masks compose the way you'd expect: internal clipping happens first (so masks inside the group still clip inside the group), then the group's combined output becomes the clip for whatever sits below it outside the group.
Hidden masks don't clip
Toggling a clipping mask's eye icon off turns clipping back on for the items below it — the same shortcut you'd use to compare clipped and unclipped versions while iterating. The mask is still there; it just isn't doing anything until you flip the eye back.
This makes A/B comparison a one-click thing. No need to delete and re-add; no need to take history snapshots.
Clipping mask vs. layer mask
Clipping masks shape an object's siblings. The mask reuses the geometry of an object that already exists somewhere in your layer stack; you don't paint anything new.
Layer masks are different — they're a per-object greyscale raster you paint into to control where that one object shows. The two stack: an object can be inside a clipping group and have its own painted layer mask at the same time. Layer masks shape their own object first; clipping masks then shape that result along with everything else around it.
Cheat sheet
- Convert — right-click an item → Convert to Clipping Mask.
- Mode — right-click a mask → Clipping Mode: Alpha / Greyscale / Pixel.
- Invert — right-click a mask → Invert Mask.
- Toggle on/off — eye icon on the mask's row.
- Remove — right-click a mask → Remove Clipping Mask.
- What gets clipped? Siblings below the mask in the same parent, until the layer boundary. Stacking masks intersect.
- Colour stripes in the panel show every mask affecting a row, in consistent left-to-right columns.