

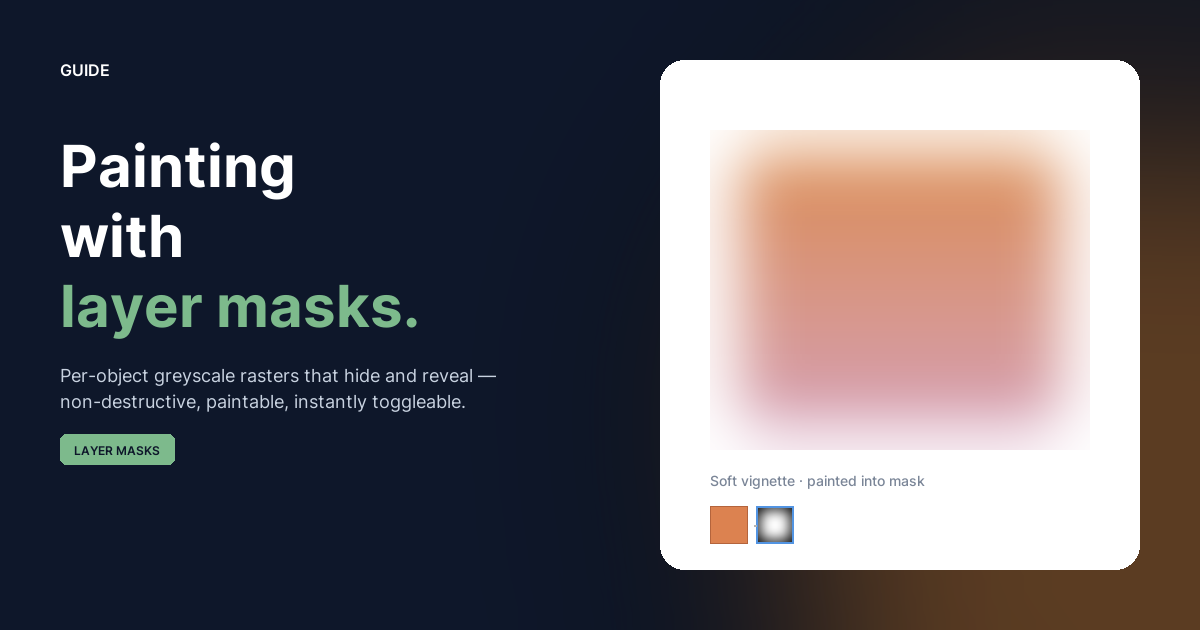
A layer mask is a per-object greyscale raster you paint into. It controls where an object is visible without ever changing the object's own pixels. White areas show the object at full strength, black areas hide it, and mid-greys produce partial transparency. Toggle the mask off and the object snaps right back to its original look.
Layer masks are non-destructive (you can always go back), reusable (every paint tool works on them), and resolution-aware (the mask grid scales with the object as you resize it).
Adding a mask
There are two ways:
Right-click → Add Mask
Right-click an object in the Layers panel and pick Add Mask. A blank white mask is attached to the object, and Brushee jumps straight into mask-edit mode so your next brush stroke lands on the mask.
+ mask button (header)
Select one or more objects and click the + mask icon in the Layers panel header. Each selected object gets its own fresh white mask in a single history step. If exactly one object ends up with a new mask, the panel auto-enters mask-edit mode for it; otherwise you stay on whichever target you picked last.
Newly added masks start fully white, so your object is initially unchanged. The fun starts when you start painting black into it.
Painting into the mask
Layer masks live in mask-edit mode. Click the mask thumbnail next to an object's row in the Layers panel — the small grey-ringed thumbnail just to the right of the object's own thumbnail. The mask thumbnail gets a blue ring and the object thumbnail dims, signalling that paint strokes will land on the mask, not the object's body.
Every paint tool respects the mode:
- Brush (B) — paint with the current foreground colour. Black hides, white reveals. Soft brushes give clean falloffs.
- Eraser (E) — clears toward white (i.e. unhides areas you'd hidden).
- Bucket (G) — flood-fill the entire mask black or white.
- Symmetry brush — same as the regular brush, just mirrored. Useful for vignettes.
- Stencils — paint inside (or blocked by) a stencil shape. Great for hard-edged geometric cutouts.
Pressure, opacity, and hardness all work the way they do in normal painting. To leave mask-edit mode, click the object thumbnail — strokes go back to painting the object itself.
See what's hidden
Right-click a masked object and pick Show Mask to overlay the mask in greyscale on top of the artwork. White, black, and grey become literal areas you can read at a glance. Click Hide Mask Overlay (the same menu entry, now with the inverted label) to put it away. The mask still applies regardless of whether the overlay is showing — the overlay is purely a visual aid.
Toggle, remove
A mask is non-destructive in two senses:
- The little eye icon on the mask thumbnail toggles the mask off. Click it once and the object renders without the mask; click again to restore it. Useful when you're iterating and want to compare with vs. without.
- The right-click Remove Mask entry deletes the mask outright. The object's pixels are untouched; only the mask data goes away. The removal goes through history, so Ctrl+Z brings the mask back.
What can have a mask?
Any object that paints something on the canvas:
- Vector shapes (rectangles, ellipses, polygons, smart shapes)
- Paths and lines
- Text (regular and on-path)
- Images and bitmaps
The mask canvas is sized to the object's visible bounds — so a path or smart shape whose outline pokes outside the bounding rectangle gets a mask frame that fits the outline, not just the handles. Resizing the object scales its mask along with it: the relationship between mask-pixel and object-pixel is fixed.
A worked example: soft vignette
A common reason to reach for a layer mask is to soften the edge of an otherwise hard shape — say, a rectangular photo you want to fade into the background instead of butting up hard against it.
- Drop in the photo. Drag the file onto the canvas; Brushee adds
it as an
imageobject. - Add a mask. Right-click → Add Mask. The mask starts fully white, so the photo doesn't change.
- Pick a soft brush. Press B, set the brush hardness low (~10), the size large (~30 % of the photo's short edge), and the colour black.
- Paint the edges. Stroke around the perimeter of the photo, just inside the edge. Each stroke nibbles transparency into the mask, and the photo's edge softens accordingly.
- Toggle to compare. Click the eye on the mask thumbnail to flip between vignetted and untouched, and adjust until you like it.
If you go too far, switch the brush colour to white and paint back the parts you want visible. Or right-click and pick Remove Mask to start over without losing the photo.
Layer mask vs. clipping mask
Layer masks shape the one object they're attached to. They live as greyscale pixels you paint by hand.
Clipping masks are a different feature — a clipping mask reuses any object's rendered geometry to clip its siblings. The mask itself doesn't paint anything; it just acts as a shape for everything below it in the same layer or group.
The two stack. An object can have its own painted layer mask and sit inside a clipping group at the same time. The layer mask trims its own object first; the clipping mask then clips that object's output along with everything else around it.
Cheat sheet
- Add — right-click → Add Mask, or + mask button in the panel header.
- Edit — click the mask thumbnail; paint with any tool.
- Stop editing — click the object thumbnail.
- Toggle on/off — click the eye on the mask thumbnail.
- Show / hide overlay — right-click → Show Mask / Hide Mask Overlay.
- Remove — right-click → Remove Mask.