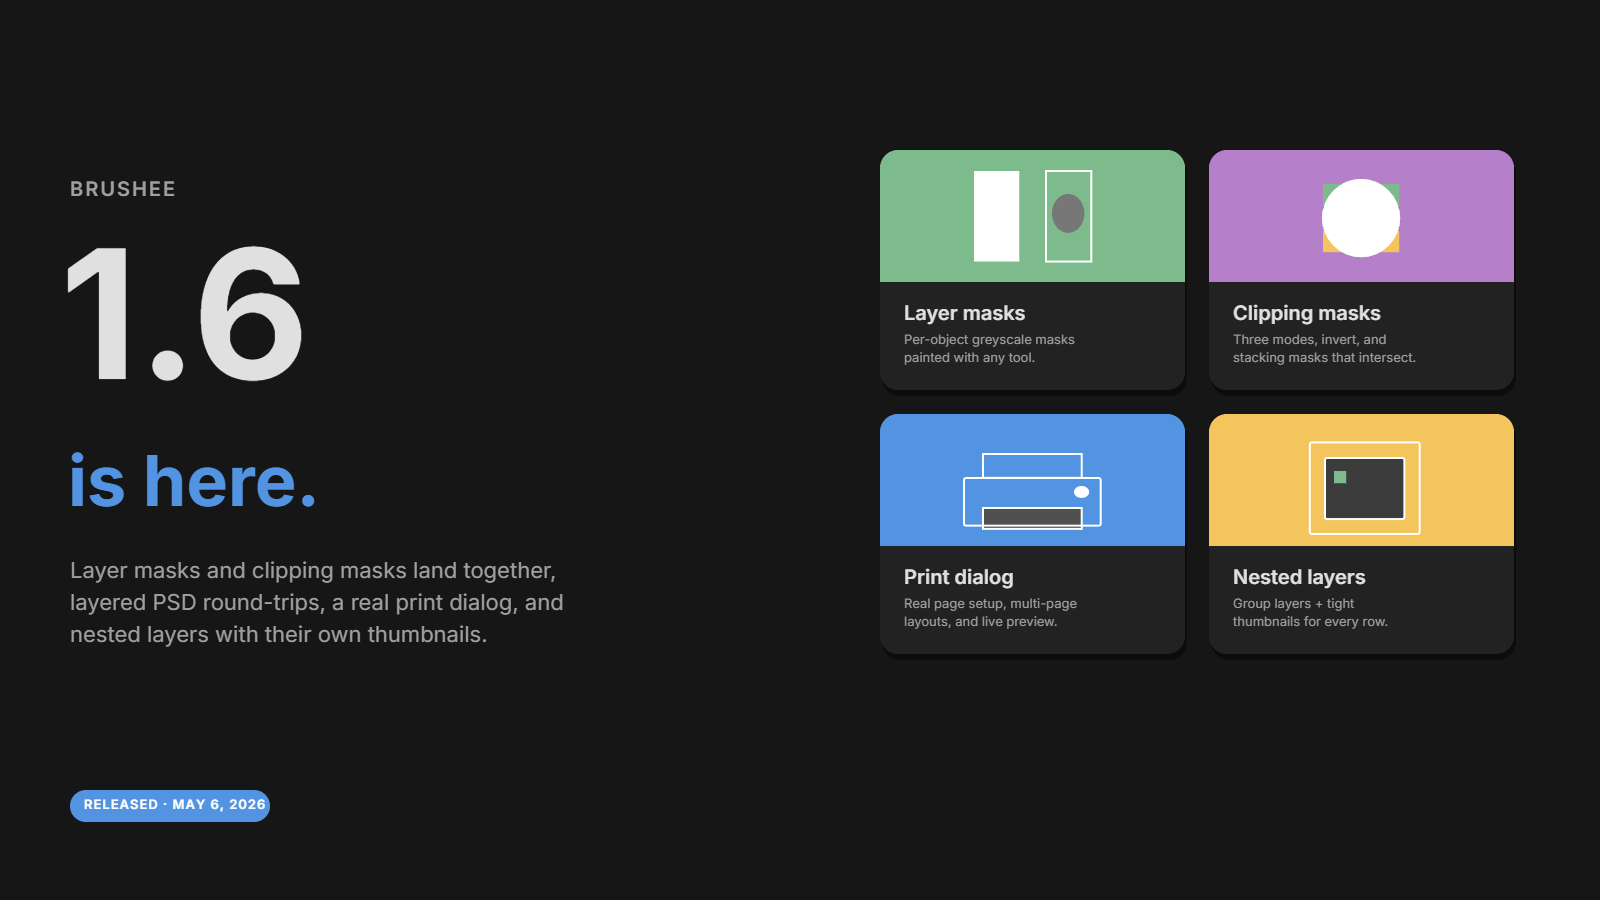
Six days, one release. Brushee 1.6 collects everything new since 1.5 into a single roll-up — a heavier-than-usual mix because masks landed twice (paintable and clipping), the file format catalogue grew, and the layers panel finally learned to nest.
Layer masks
Every object can now carry a layer mask — a per-object greyscale raster you paint into to control where the object shows. White reveals, black hides, mid-greys blend through. Toggle it off and the object snaps back to full visibility; the mask data sticks around so you can toggle right back on. Right-click → Add Mask (or the + mask button in the panel header) to add one; click the mask thumbnail to switch into mask-edit mode and any paint tool — Brush, Eraser, Bucket, Symmetry, Stencils — lays strokes onto the mask instead of the object.
A Show Mask overlay drops the greyscale on top of the artwork while you paint, so it's easy to see exactly where black, grey, and white sit. The full mechanic — including the worked vignette example — is in the Layer Masks guide.
Clipping masks
Right-click any object or group → Convert to Clipping Mask. The item disappears from the rendered image and starts cutting out every sibling beneath it in the same parent. Stops at layer boundaries so two layers never bleed into each other.
Three modes (right-click the mask):
- Alpha — pass the mask's alpha through. Soft edges and gradient fills carry their softness into whatever's clipped.
- Greyscale — luminance becomes the clip strength. White reveals, black hides, grey blends.
- Pixel — binary alpha. Hard cutouts regardless of anti-aliasing.
Plus an Invert Mask toggle that flips the clip in place; the visible inverse extends to fill the document. Stack two or three masks in the same parent and they intersect — an item below all of them is visible only where every mask has coverage. Each mask gets a colour from a muted palette and paints a thin stripe along the left edge of every row it touches, sorted so each mask occupies its own column across every row. The full walk-through is in the Clipping Masks guide.
A real Print dialog
File ▸ Print… opens a real Brushee print dialog (no more relying on the browser's Save as PDF). Page size, orientation, margins, fit to page vs. exact-scale, multi-page layouts for documents larger than one sheet — all in a familiar split layout with a live preview that reflows as you tweak. Print Selected… and Print Layer… sit in the canvas and layer right-click menus when you want a focused print without flattening the rest of the document.
Layered PSD round-trip
PSD export used to flatten everything into a single layer. It now writes one PSD layer per Brushee layer, rasterised and trimmed, with name, visibility, opacity, and blend mode preserved. Multiply, screen, overlay, soft / hard light, color burn / dodge, difference, exclusion, hue / saturation / color / luminosity all map straight back to PSD's mode strings. Object-level opacity / blend mode bake into the pixels (PSD has no per-object analogue), but layer-level settings stay editable downstream.
PSD import is correspondingly smarter. Top-level groups become
Brushee layers; nested leaves become objects inside that layer with
their PSD path captured in the name (blades / blade 3). Adjustment
layers and zero-pixel layers are skipped. Visibility / opacity / blend
modes survive the trip both ways.
Wider import / export catalogue
Beyond PSD, the picker now happily reads and writes:
- PDF — page size, orientation, PPI, fit-to-page or exact-scale output. Multi-page documents render each page as the corresponding Brushee tile.
- TIFF — LZW / PackBits / no compression, configurable PPI, flatten-to-single-strip option.
- BMP, GIF — paired single-frame raster importers / exporters; GIF flips into 1-bit alpha when transparency is on.
The Open dialog lists each one on its own row with a friendly description plus a "Common Formats" filter, so it's clear from the picker exactly what'll happen next.
Nested layers
Layers can now nest. Drag one layer onto another (or use New Layer
inside an active layer) and it becomes a sub-layer — Photoshop-style
groups of layers, with their own visibility, opacity, blend mode, and
expand / collapse chevron. The render walk follows childOrder so
sub-layer position is part of z-ordering rather than always-on-top, and
PSD import / export both honour the nested structure end to end.
Layer thumbnails
Each layer row in the panel now shows a small composite thumbnail of its actual contents — visible objects rendered tightly to a 22 px preview. Object rows get the same treatment at 18 px. Bitmap strokes update their thumbnail incrementally without tearing down the panel, so the preview stays in sync as you paint. Clipping masks honour the clip in their thumbnails too, so a layer that uses a mask to cut out a window shows a window — not a flat painting of the mask shape.
Drop a .brushee to open it
Brushee project files (.brushee) can now be dropped onto the canvas
or pasted directly. They open in their own document tab — no detour
through File ▸ Open. Same goes for the document tab bar: drop any
supported file type (project, PSD, SVG, raster) on the tab strip and
it opens as a new tab.
Painting keyboard shortcuts
Sensible single-key shortcuts now follow the painting flow. B / E for
Brush / Eraser. Bracket keys ([ / ]) bump the brush size in small
increments; Shift + bracket jumps in big steps. X swaps
foreground / background colour. The full list lives in the Help ▸
Keyboard Shortcuts topic and on the in-app cheat-sheet panel.
Misc
- Open Recent in the File menu remembers the last 20 projects / PSDs / SVGs / images you opened or saved.
- Tools-panel toggle tab is hidden by default; the keyboard shortcut (Ctrl + Alt + T) and Window menu entry still toggle it.
- Help dialog picked up dedicated topics for layer masks and clipping masks, plus full-length guides for both.
A focused clipping masks update post covers the mask-only changes if you want the per-feature deep-dive.